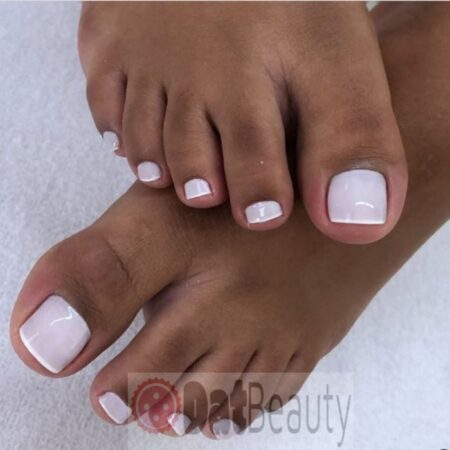
Curing nails is a term used in the world of nail care and is an important step when doing gel manicures or pedicures. Curing is meant to dry out the product on your nails so that it can last longer. Anytime you do any kind of nail art, such as painting designs with acrylic paint, you will want to cure the design after applying it. If not cured properly, this could lead to damage and peeling at your cuticles and even around your fingers.
Why Nails Curing?
Nail curing may not be a necessary step in some manicures, but this is if the product you are using is not a gel polish. If you have applied a nail strengthener or UV top coat to your nails, you will want to cure it properly so that it works as it should and lasts long.
Equipment for Curing
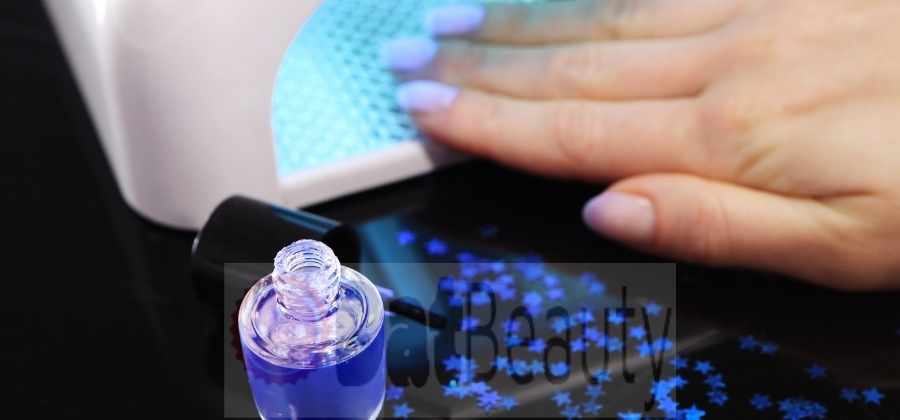
Curing can sometimes be done with a UV lamp or LED light. In some cases, the type of lamp used does not matter as much as the length of time that you keep your hand under the lamp before continuing with your manicure. A general rule of thumb for curing gel nails is about three minutes under a bright lamp.
If you do choose to use a lower wattage LED light for curing gel nails, ensure that you check the lamp’s packaging since they do vary in terms of wattage. The most common type of LED lamps are 15 watts.
Curing Gel nails
After you have applied gel to each nail, place your fingers into the LED light case and close it tightly. Your nails need to be in there so that they can be exposed to ultraviolet light – which is what cures the gel after it has been applied. If possible, keep the lights on for at least ten minutes with each hand before taking them out of the box. Even if this isn’t possible, try to leave them in there for a minimum of five minutes in order to ensure that they are properly cured.
Once you’ve finished curing all of your nails, apply a top coat by using a cotton ball or small piece of cloth and some acetone. This will help seal in your work and prevent your nails from chipping and peeling. Do this immediately, as gel nails take a long time to cure properly and you will want to make sure that you’re finished before the resin begins to revert back into liquid form.
Curing Acrylic Nails?
Acrylic nails could be cured or hardened by two ways: either by putting them under ultraviolet light or by applying an additional layer of gel and curing it beneath the lamp once again. If you don’t have enough time to spare and your ultimate goal is to harden the artificial nails as fast as possible so that they can bear some pressure, then it’s preferable to use the second method which will tremendously cut down on your curing time.
For this method, start off with a regular base coat, let it dry and paint one more coat over it if necessary. Continue with another regular base coat and cure this one beneath the lamp. Now apply one more regular coat without curing it; it will keep your nails moisturized while you apply an extra layer of gel on top of it which is also cured beneath the lamp. Afterwards, paint one or two coats of your preferred color and make sure they are dry before applying a very thin layer of top coat over the whole thing to lock in the moisture and give some added shine.


