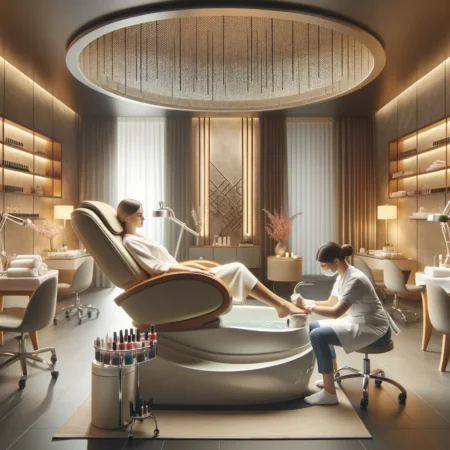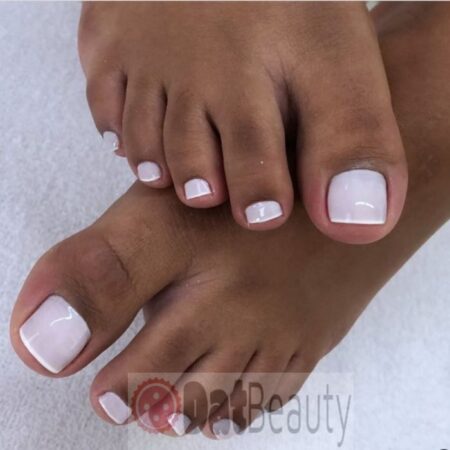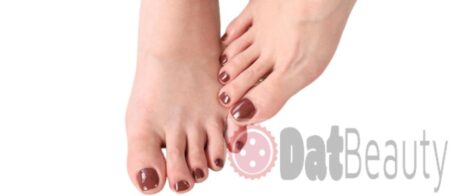


Gel nails are the latest trend in nail look. They give an elegant and chic look to your hands which is why they are so popular among housewives as well working women. Gel nails can be done at home or you can also go for manicure and pedicure at nail salons, but sometimes doing them at home prove to be advantageous because of availability of tools and products. And it saves time too! Here we will discuss how to do gel nails at home with step by step guide.
Doing gel nails yourself improve your concentration power as well as creativity skills.
Step 1: Gather Your Tool and Product
You will need nail clippers, cuticle stick or pusher, orange wood stick, cuterine, gel polish/polish.
Trim and Shape Your Nails
Trim and shape your nails in the way you like. This enables easy application of nail colour. Cuticles should be pushed back properly with Orangewood stick to avoid damage while applying colour on nails.
Apply Base Coat
Use only products intended for a gel system and follow each maker?s application, compatible lamp, cure, and removal directions. Avoid skin contact with uncured gel and do not over-file the natural nail.
Apply First Coat of Nail Colour
You can use a gel nail colour of your choice. It is better to go with the colours that is slightly darker than your natural nails as then it will be easy for you to see them when they are wet and also help in giving a French manicure look after the second coat so the natural nails do not show up through.
Apply first coat of gel nail paint, avoid getting it on cuticles or skin surrounding nails as it may become difficult to clean it later.
Step 2: Cure Nails
Cure times vary by gel and compatible lamp. Follow the product?s exact instructions; do not use a universal 30-second or two-minute rule. Wattage alone does not establish a complete cure.
Step 3: Apply Second Coat
Use the compatible lamp and product directions for every layer. Do not add color layers or change cure times by guesswork; remove gel safely according to the system instructions.
After doing gel nails at home, make sure you clean all the tools used like nail brush, cuticle stick, etc which should be done before storing them away in a container or box to avoid getting yellow due to accumulation of dust particles or dirt.
Before opening a home gel kit
Check that the kit is intended for consumer use and read every product and lamp instruction. Gel systems are not universal: a lamp sold with one brand may not cure another brand’s formula as directed. Do not substitute bulb types, extend cure times by guesswork or apply thick coats to save steps. If the instructions are missing, the product identity is unclear, or the lamp and gel are not specified as compatible, do not use the kit.
Keep uncured product off skin
Work in a ventilated area with clean, dry nails and a stable surface. Avoid flooding cuticles and sidewalls; if gel touches skin, remove it as the label directs before curing. Do not continue if product spills onto skin or if you cannot clean it safely. Uncured nail ingredients can cause irritation or allergy in some people. FDA recommends following nail-product labels, using ventilation and avoiding skin contact: FDA nail-product safety.
Apply only the layers and timing stated by that system. If your nails feel hot or painful, remove your hand from the lamp and pause. Do not cure through pain or use a stronger lamp as a fix. Keep products away from eyes, children and pets, and do not use them on broken or inflamed skin. If you have reacted to gel or acrylic before, ask a clinician before trying another kit.
Removal and warning signs
Confirm the removal method before application: some products soak off and others need filing. Do not peel, bite or scrape gel away, and do not file into your natural nail. Stop using the system and seek medical advice for itching, redness, swelling, blisters, pain or nail separation. A home kit may save a salon visit, but it requires precise product handling and removal; regular polish is a reasonable alternative when that process does not fit your comfort or skill.
Set up a clean, controlled work area
Use a stable table, good lighting and enough ventilation to avoid leaning close to the product. Keep bottles upright and close their caps promptly. Protect the work surface with a disposable covering and follow the maker’s cleanup instructions for spills. Do not use a fan that blows uncured product or dust toward your face. Keep children and pets out of the area until products are closed and stored.
Work on one hand at a time so you can inspect the application before curing. If the gel floods a cuticle, stop and clean it instead of curing over it. Avoid using gel on damaged nails or skin. If you cannot apply a thin layer accurately, regular polish avoids the same uncured-product handling concern.
Store the kit away from sunlight and heat as the manufacturer directs, and discard products past their stated shelf life or that have changed texture. A professional manicure is not risk-free, but a trained technician is more familiar with lamp matching and product placement. Choose home gel only if you can follow the system exactly.