Are you a gel polish beginner? If you are, then this post is for you! In this blog post I will discuss some of the things that I wish someone told me when I was first starting out. This way, if there is something you don’t know about yet and would like to learn, it can be helpful for you as well. So let’s get started…
Clean Your Nails
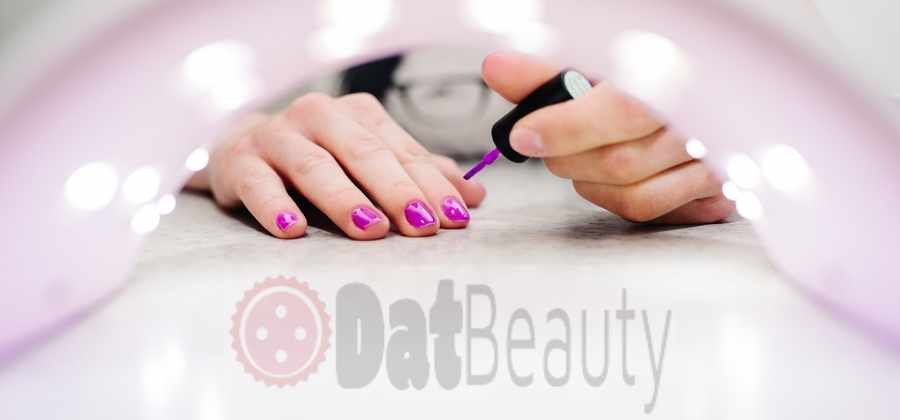
Before applying gel polish to your nails, clean them of dust and oils using a lint-free wipe. Then lightly buff your nails with a fine grain nail file.
Shake Gel Polish
Shake the gel polish bottle before you apply it to ensure even color and that there are no lumps. Then wipe the excess on a paper towel to avoid globs of gel on your nails.
Apply Aquaphor or Lotion Around Cuticles
Moisture is very important for cuticles. Apply a small amount of lotion or Aquaphor to the cuticles before applying gel polish.
Use Short Strokes
Short strokes help to ensure an even coat on your nails. Always start with a thin first application of gel polish, taking care not to go outside or cover the cuticles. The second coat can be applied thicker if necessary. If you are doing stamping over the nail art, try applying two coats of gel polish first, allowing them to dry fully between each coat before adding any product over it. This will give you smoother lines for color transfer over the image on your stamper.
Use Thin Layers
Less is more when it comes to top coats. Applying thin layers of gel top coat will help avoid burning through the color and give you a longer lasting shine. If your top coat starts to get too thick, pour some into a separate jar and add a couple drops of pure acetone. This thins out the product and allows for easier application without compromising on durability.
Cap the Free Edge
A lot of people make the mistake of not capping their free edge to avoid smudging. You should always cap your free edge with gel top coat to give your nails a smooth finish and prevent chipping. When doing this, make sure you use two coats since it will be visible on the edge of your nails.
Remove Extra Gel Polish BEFORE Curing
Be sure to wipe off any excess gel polish on your nails with a solvent like acetone or an alcohol hand sanitizer before curing. If you leave too much product on your nails, it will smudge when you go over them with the lamp.
Cure in the Right Size Lamp
The most common mistake is not using a lamp that is big enough for the size of your nails. If you have small nails and try to cure them in a 36 watt lamp, it will take forever! Make sure you use a lamp with a power equal to the length of your nails. For example, if you have long nails, use the 36 watt lamp. Most salons will have a 40-50 watt lamp to cure nails faster for gel manicures. If you are curing your own gel at home then it’s important that you have an LED or 36-watt UV lamp to cure your gel.
Completely Cover Color With Top Coat
Another common mistake that a lot of people make is not applying their top coat thick enough. Make sure you completely cover the color with a nice thick layer of gel top coat to give your nail proper shine and durability. If you have a matte look, you can always apply a second thicker coat on top.
Hydrate
Your nails are made up of mostly water, so they NEED proper hydration to grow long and stay healthy. You can either apply an oil or lotion directly on your cuticles every night before going to bed and wear cotton gloves while sleeping. If you forget to take off the gloves in the morning, just give them a quick wipe with alcohol and that will remove any product left over from the oils overnight.


